About Me

My photo
Life on two acres of arid dirt, on the edge of the Australian outback.

Saturday, May 13, 2017

this week around here

Hiya all,

Bet you cant guess what we have been doing?


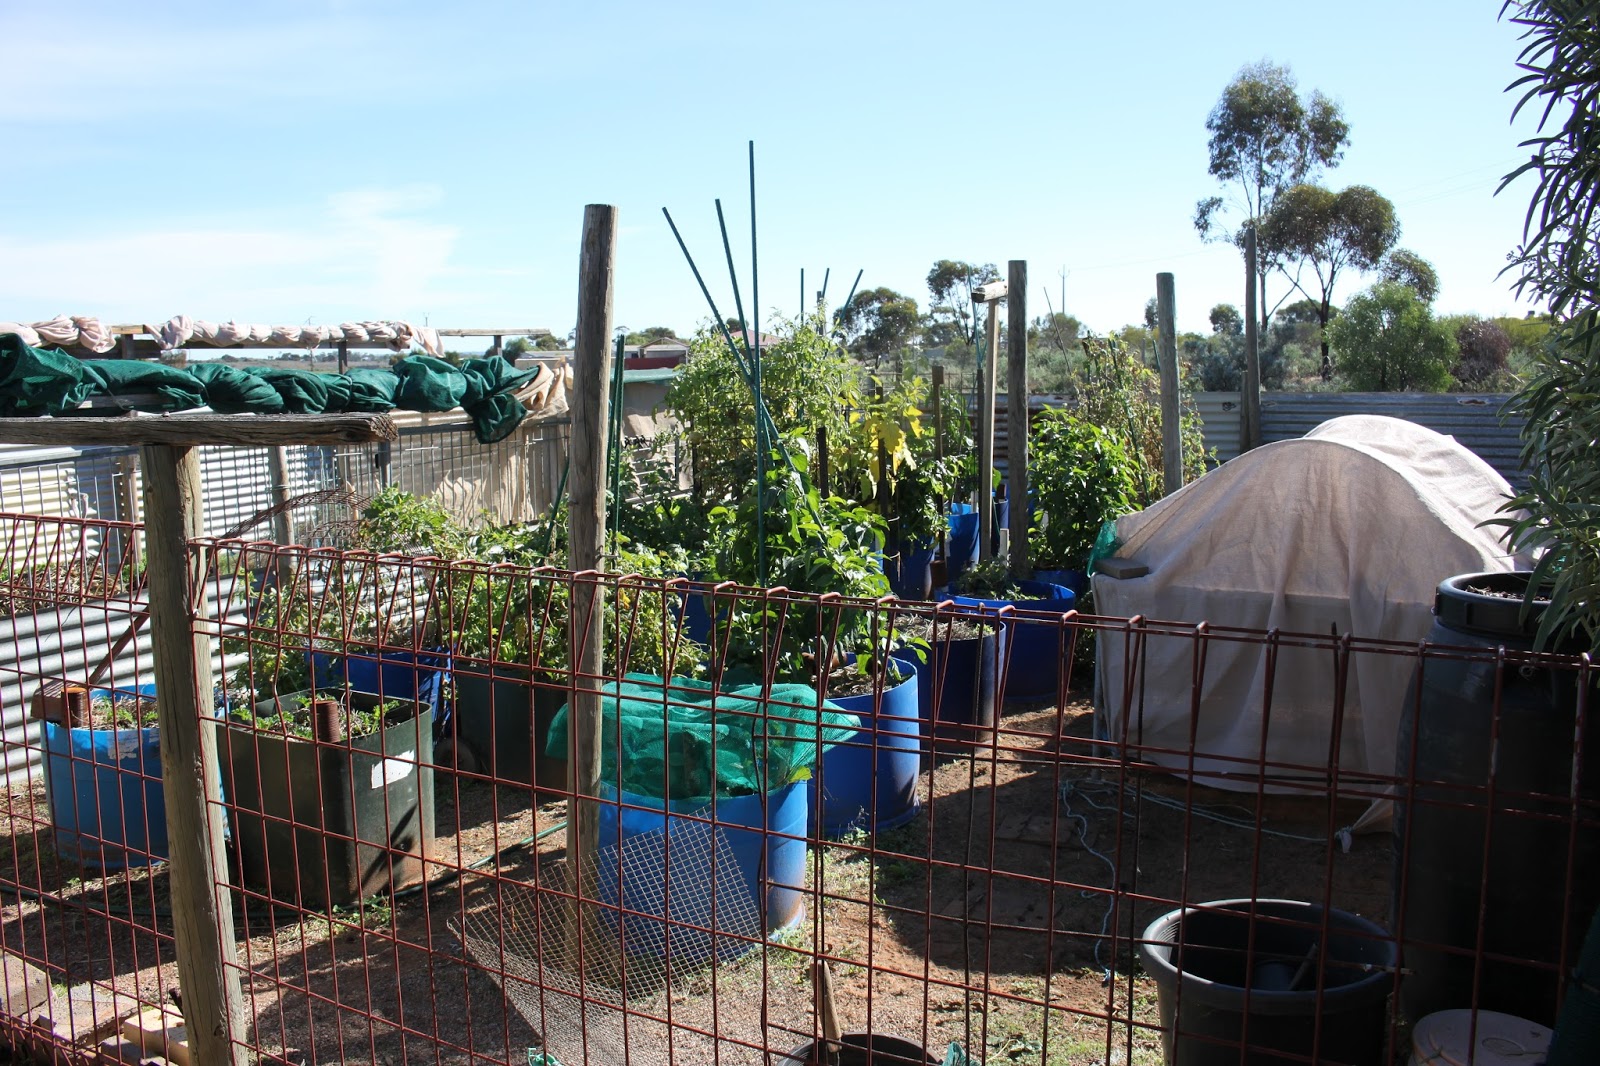
We spent a lot of this week working outside in the veggie patch.  There were four wicking beds to set up and it was time to clean up some of the beds after summer.  


There were some baby celery among the strawberry plants. Unfortunately I forgot to tell hubby and they are now in a pile of dirt where he emptied one bath and transferred the strawberries to another. Never mind, these seedlings pop up everywhere and I am sure I will get some more.


I planted out some baby spinach plants.


My capsicums are the biggest they have ever been. These ones are starting to turn red.


Rhubarb ready to harvest again.


Leftover strawberry plants that my mum took home to plant out.


The first of my lemons to ripen.


Beautiful sunny days at the moment.


I like to take my little radio wherever I go, and the garden is no exception. Mostly I listen to ABC and learn heaps of interesting things while gardening. As a child I listened to the radio a lot while mum and dad were working in the paddocks at seeding and harvest time. It was my best friend.


Last Sunday we did a trip to my parents to raid their olive trees.  We eat a lot of olives and dad and mum do not, so it means they would only go to waste. We saw a good opportunity to have an attempt at pickling them.


Picking...


Sorting...


Found this leaf among the olives.


Cutting slits in them.


Into a salt brine. We are trying two methods. One straight into a brine and the other soaking in plain water. The idea is to remove the bitterness.  This is a long process.


We were lucky to source these free.


This is what my bathroom looks like at the moment.


Every day for twelve days we need to change the water in two of the buckets.  The salt brine ones have to sit for a week before changing.


In the kitchen...

Golden syrup dumplings. I use a recipe that adds the juice of one lemon to the sauce...delicious!


An old favourite, lemon slice.


Remember this crochet queen sized blanket I recently bought at an op shop? I showed it in this previous post.  When I first got it home I thought it would be great to put in our caravan, but because of the colder nights I have needed it to keep us warm at instead.  Here is its home for now, on our bed! It is wonderfully heavy and warm.


The fire has been on.  Nice and toasty warm.


Photo shoot of all our Fire King collection for Instagram.


Sunlight.


Another stunning sunset from Thursday night.


Today we went out to a country music muster in nearby Quorn.  My dad has wanted to go for so long so we met my parents there. It was a bit cold but we thoroughly enjoyed the music.  


This couple were brilliant musicians and singers.  Rod and Rhonda Owen.


Tomorrow will be spent with family on Mother's day.

To all you lovely mums out there, wishing you the happiest of Mother's days!

See you soon xx

Wednesday, May 10, 2017

how to make a wicking bath ~ our way

This post is another request, this time for Jane who wanted to know how we make our wicking baths. Hopefully Bluey will understand our instructions.

So here we go with a tutorial, the photos being part of the description.

I would just like to say that this is the way we do it.  There are other methods out there and I will add a couple of links to the bottom of this post.  We may change later down the track, but for now this is what works for us. 

Watcha need:

An old bath. 
You will need a handy person to build a frame to hold the bath in place. This is made from heavy duty pipe account the weight of the bath when complete. Hubby has made this one at a good working height for me. 

50mm storm water pipe (long piece to water into reservoir and the small piece gets attached to the drain piece).
40mm P & W drain piece (as shown in second pic).


A tube of pvc pipe glue for sticking the 90 degree bend and AG pipe to long piece of pipe.
A tube of silicon to seal around bath inside and out where P&W fits.

Ag pipe (found in hardware stores).

Shade cloth and scissors to cut it. You can use weed mat too.

Zip ties or string.

Spirit level.

Rocks.

Hay/straw.

And of course some soil.

Whatya do:

Step 1: To place drainage pipe into your bath. 

(A little complicated for me to explain as hubby is the one who does this).

Remove the old brass plug surround from the bath so you can fit the new P&W drain pipe in its place. The small piece of PVC is used with this drain pipe. You need to add silicon to seal around the area.


Step 2: Next you need to make the reservoir pipe using ag pipe. Ours have been wrapped in double shade cloth held on tightly with zip ties. This helps to keep debris out of the holes in the piping. 

It then needs to be joined to the longer piece of PVC. We do this by adding an elbow piece. This photo hopefully helps show what is needed. The ag pipe is cut to the size of roughly 1.5metres, depending on the size of your bath.

This is what it should look like once the shade cloth is put on the ag pipe and attached to the 90 degree angle piece. Now this is all done it is time to set up the wicking bath/bed.

Step 3: Place the bath where you want it and level off with a spirit level. They must be level to drain well.

Step 4: Lay your pipe into the bath like the photo shows here. Tie the long pvc fill pipe with a piece of string or zip tie to the drain pipe like so...

Step 5: Now the rocks can go in. 

You may need to hold the pipe down while you add rocks so that it is held to the bottom of the bath.  The rocks have a habit of slipping under the pipe. The idea is to just cover the ag pipe up to the top of the drain pipe. This is not a good pic to show that, but hopefully you get the idea. More rocks were added until I could no longer see the pipe.

Step 6: On top of the rocks goes the shade cloth that has been pre-cut to size. We double the cloth for extra protection to stop debris from getting through to the rocks below.


Step 7: You will need to cut a small hole that can be slipped over the long piece of pvc pipe, like this pic.

I should mention that I use a face mask when handling anything dusty or mouldy in the garden. We must look after our lungs. Better to be safe than sorry.

Step 8: The straw gets put in on top of the shade cloth.  I used biscuits from a bale of oaten hay. It needs to be fairly thick/dense.  The straw is what wicks the water up from the reservoir below.

Step 9: Finally, it is time to put your soil in. I filled to the top of the bath as it will sink a little bit as it settles.  I used soil from an older garden bed, then mixed in some homemade compost and old chook poo. 

Step 10: Once filled you can then put the hose in the pipe and fill until water runs out the plug hole underneath.

Like so. And then you are done!

I have transferred my strawberry plants over and covered them to protect from any frosts that may be around.

I think that is it.  

I am not very good at writing tutorials so just ask away if you have any further questions. 

Here is a link to tell you a little bit different way to make a wicking bath.

And a video from Rob Bob showing how he does a wicking bath.

The wicking method is a great way to save water.  Where we live there is very little rain so it costs a fortune to keep a garden (whether it be flowers or veggies), because mains water is so very expensive. Sometimes we can go months without receiving a drop of rain. I am pleased to say that since I have been using this method for growing veggies, my bill has more than halved and my veggie production has increased ten fold. This is great news on both accounts.

See you soon!