Sometime around August last year, I was given some compost worms and kept them in a foam box, where they continued to thrive and multiply. We were worried about what would happen when the heat of summer arrived, and knew we would need to find something bigger that was also going to keep our little critters cool.
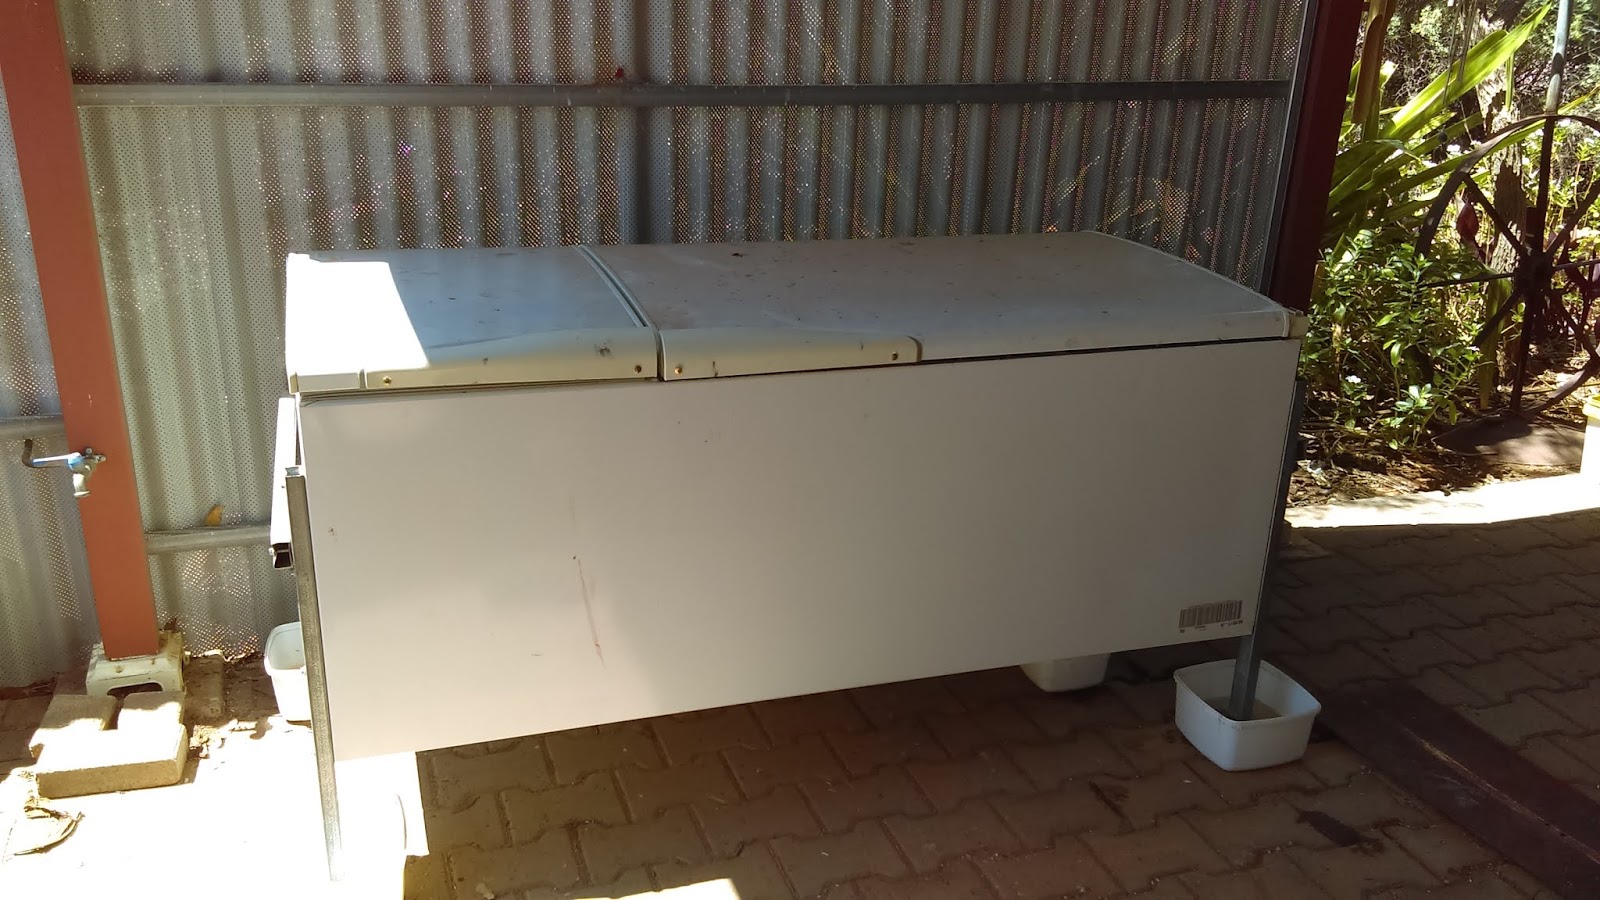
Luckily back at the beginning of Spring, we were able to get ourselves an old fridge that had stopped working. Phil was going to put it out on the block to go to scrap, but I came up with the idea to make it into a heat/cold safe haven for the worms. A bit of googling and I discovered Josh Burns had made one many years ago on Gardening Australia.
In his usual style, Phil set to and started the process of converting the fridge into a worm farm.
First of all legs needed to be added, and it also needed to be tilted slightly downhill so the worm juice would flow out of the pipe at the bottom.


We were going to set the worm farm up under a gum tree, but then decided to put it in a cool spot under the verandah.
This position was not the final destination, but it needed to be sitting on a hard surface to get the levels right, and to work on the next stage.


Some of the holes needed to be plugged up with food grade silicon.

Remaining bits were removed.


This was to be the drainage hole.


A piece of pipe was added underneath the fridge for the "wee" to drain out. Bit tricky getting this photo haha!

Once it was decided where the fridge would go, the remaining door trim and rubber were removed. This provides some air flow around the top between where the door sits and the fridge section.


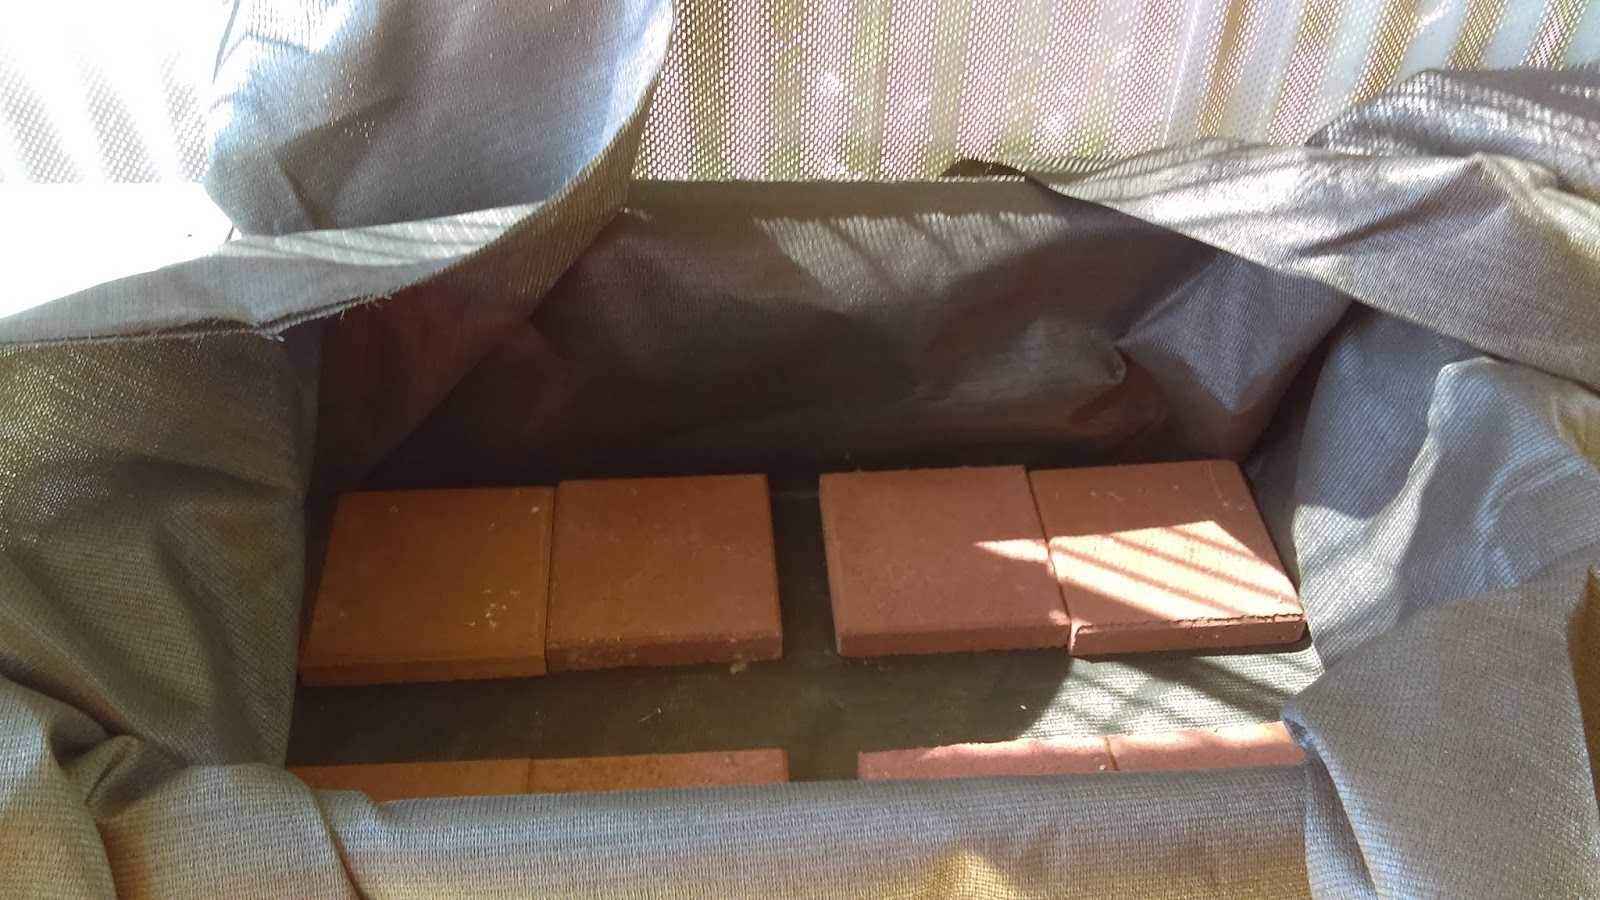
We were lucky to source this grid from an old security door for free, so we added this to the bottom with old bricks placed to prop it up.

Phil then put vents in using down pipe screens that are used for tanks, and this worked perfectly.


This particular vent was put between the freezer and fridge section so we could put ice bottles in the freezer part during the heat to keep the worms cool. Mind you, we haven't had to do this yet. So I may be able to convert the freezer to a garden bed instead...we will see.


We placed the legs in large ice-cream containers to put water in them. We have had a bad ant problem this year. I think they may be searching for water in this parched land. As I write this, I have a homemade ant trap sitting on my kitchen bench and in my main bathroom, because for the first time in twenty years they have beaten me and made it indoors. The ant trap/bait is simple; Mix some honey and borax {available in Coles} together to a paste and place on a flat lid of some sort {I used a butter container lid} and put where the ants are. Keep pets away just in case.


Now for the last fiddly bit. Adding shade cloth so the worms can't fall through to the reservoir below.
With paving bricks holding the cloth in place, a metal strip is added around the top to hold firm.

We worked out a way to fold the ends in, then secured in place.


Trim off the excess.

The finished result...nice and neat.


And the lid placed back on.
A quick clean with the vacuum.

And it was ready for the worms...
First a layer of coir that was soaked in water to soften it up. Coir can be bought in the shape of a brick, then just place in a bucket of water for 20 - 30 minutes. Squeeze water out and then add to where required. This would be great for holding moisture in garden beds or pots, I will be doing this very thing from now on.


Then in with the worms...You can see how we partitioned off part of the fridge, eventually as they grow in numbers they will spread out over the whole area.


Followed by some damp hession.

This is where we eventually placed the worm farm. Nice and close to the kitchen for scrap disposal, and in the shade for almost all of the day.

I doodled around with drawing a design on the fridge, but haven't finished it yet. I am not sure if I will attempt to paint or just colour with permanent textas.

~Fast forward to today when these photos were taken to show you how the worms are progressing. It is just about time to remove the partition so they can spread out. They are multiplying really well, so much so that I was able to give some away to a little boy to start his own worm farm.

A peek under the hessian bag and newspaper. Newspaper prevents those pesky little vinegar flies from hanging around the compost.


I sit this on top of the fridge because it is cute...

"Worm wee" dripping in the pot.


This post has been a long time coming, and has been sitting as a draft for ages. As it would turn out we have had extreme heat here over summer with a week of constant heat in the high 40's and even one day reached 53C {127.4F}! So it has been a good test to see if the fridge was going to work, and it has done so perfectly. A good result in the end.
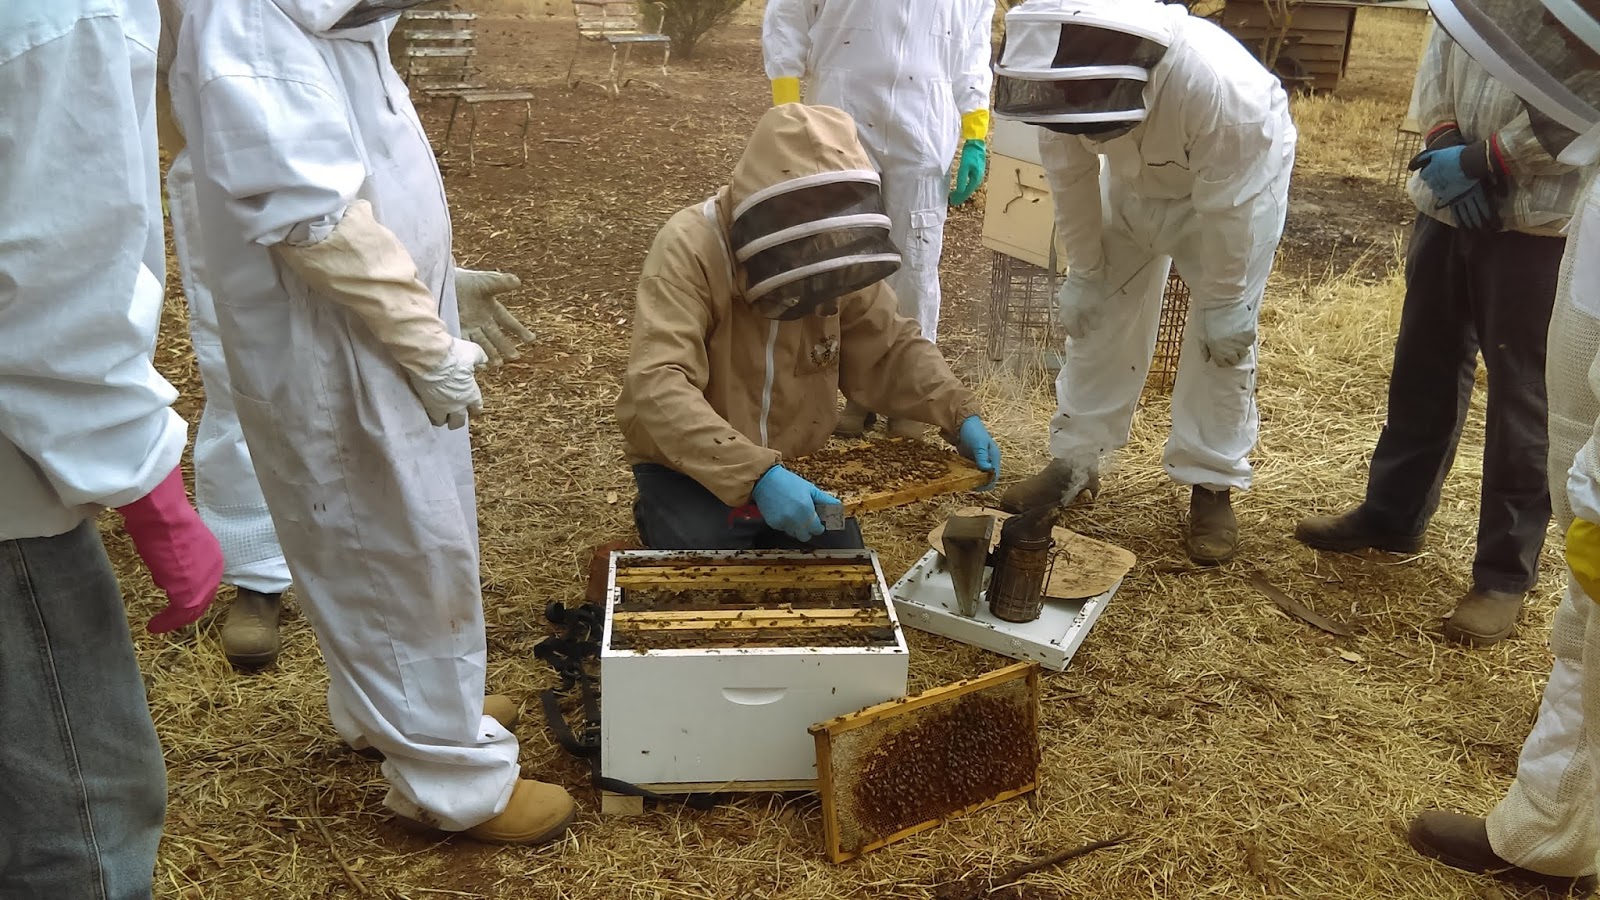
It is another 45C (113F) here today, and I know that the worms will be just fine. Same with our bees, we keep them shaded and use wet towels draped over the hives, then foam box lids on top of the towels, followed by silver sisalation to keep the hives cool. Oh and plenty of water put around for them. Spoiled bumbles! Will do a bee update soon.
Do you keep compost worms? They are very low maintenance if you have plenty of food scraps. They eat almost everything except citrus and onions. Their favourite food is pumpkin, so every now and then I steam up some for a treat. Since Christmas, my daughter keeps me supplied with scraps from her work place and that has really helped boost the numbers of worms. They are going crazy in there.
See you soon,
xTania